Description
| Measurement Time | Approx. 3.5 second (SCI+SCE measurement) |
| Approx. 4 second (SCI+SCE+Gloss measurement) | |
| Approx. 2.5 second (Transmittance) | |
| Approx. 3 second (UV-cut/UV-adjusted; SCI or SCE) | |
| Minimum Interval Between Measurements | Approx. 4 second (SCI+SCE measurement) |
| Approx. 4.5 second (SCI+SCE+Gloss measurement) | |
| Approx. 3 second (Transmittance) | |
| Approx. 4 second (UV-cut/UV-adjusted; SCI or SCE) | |
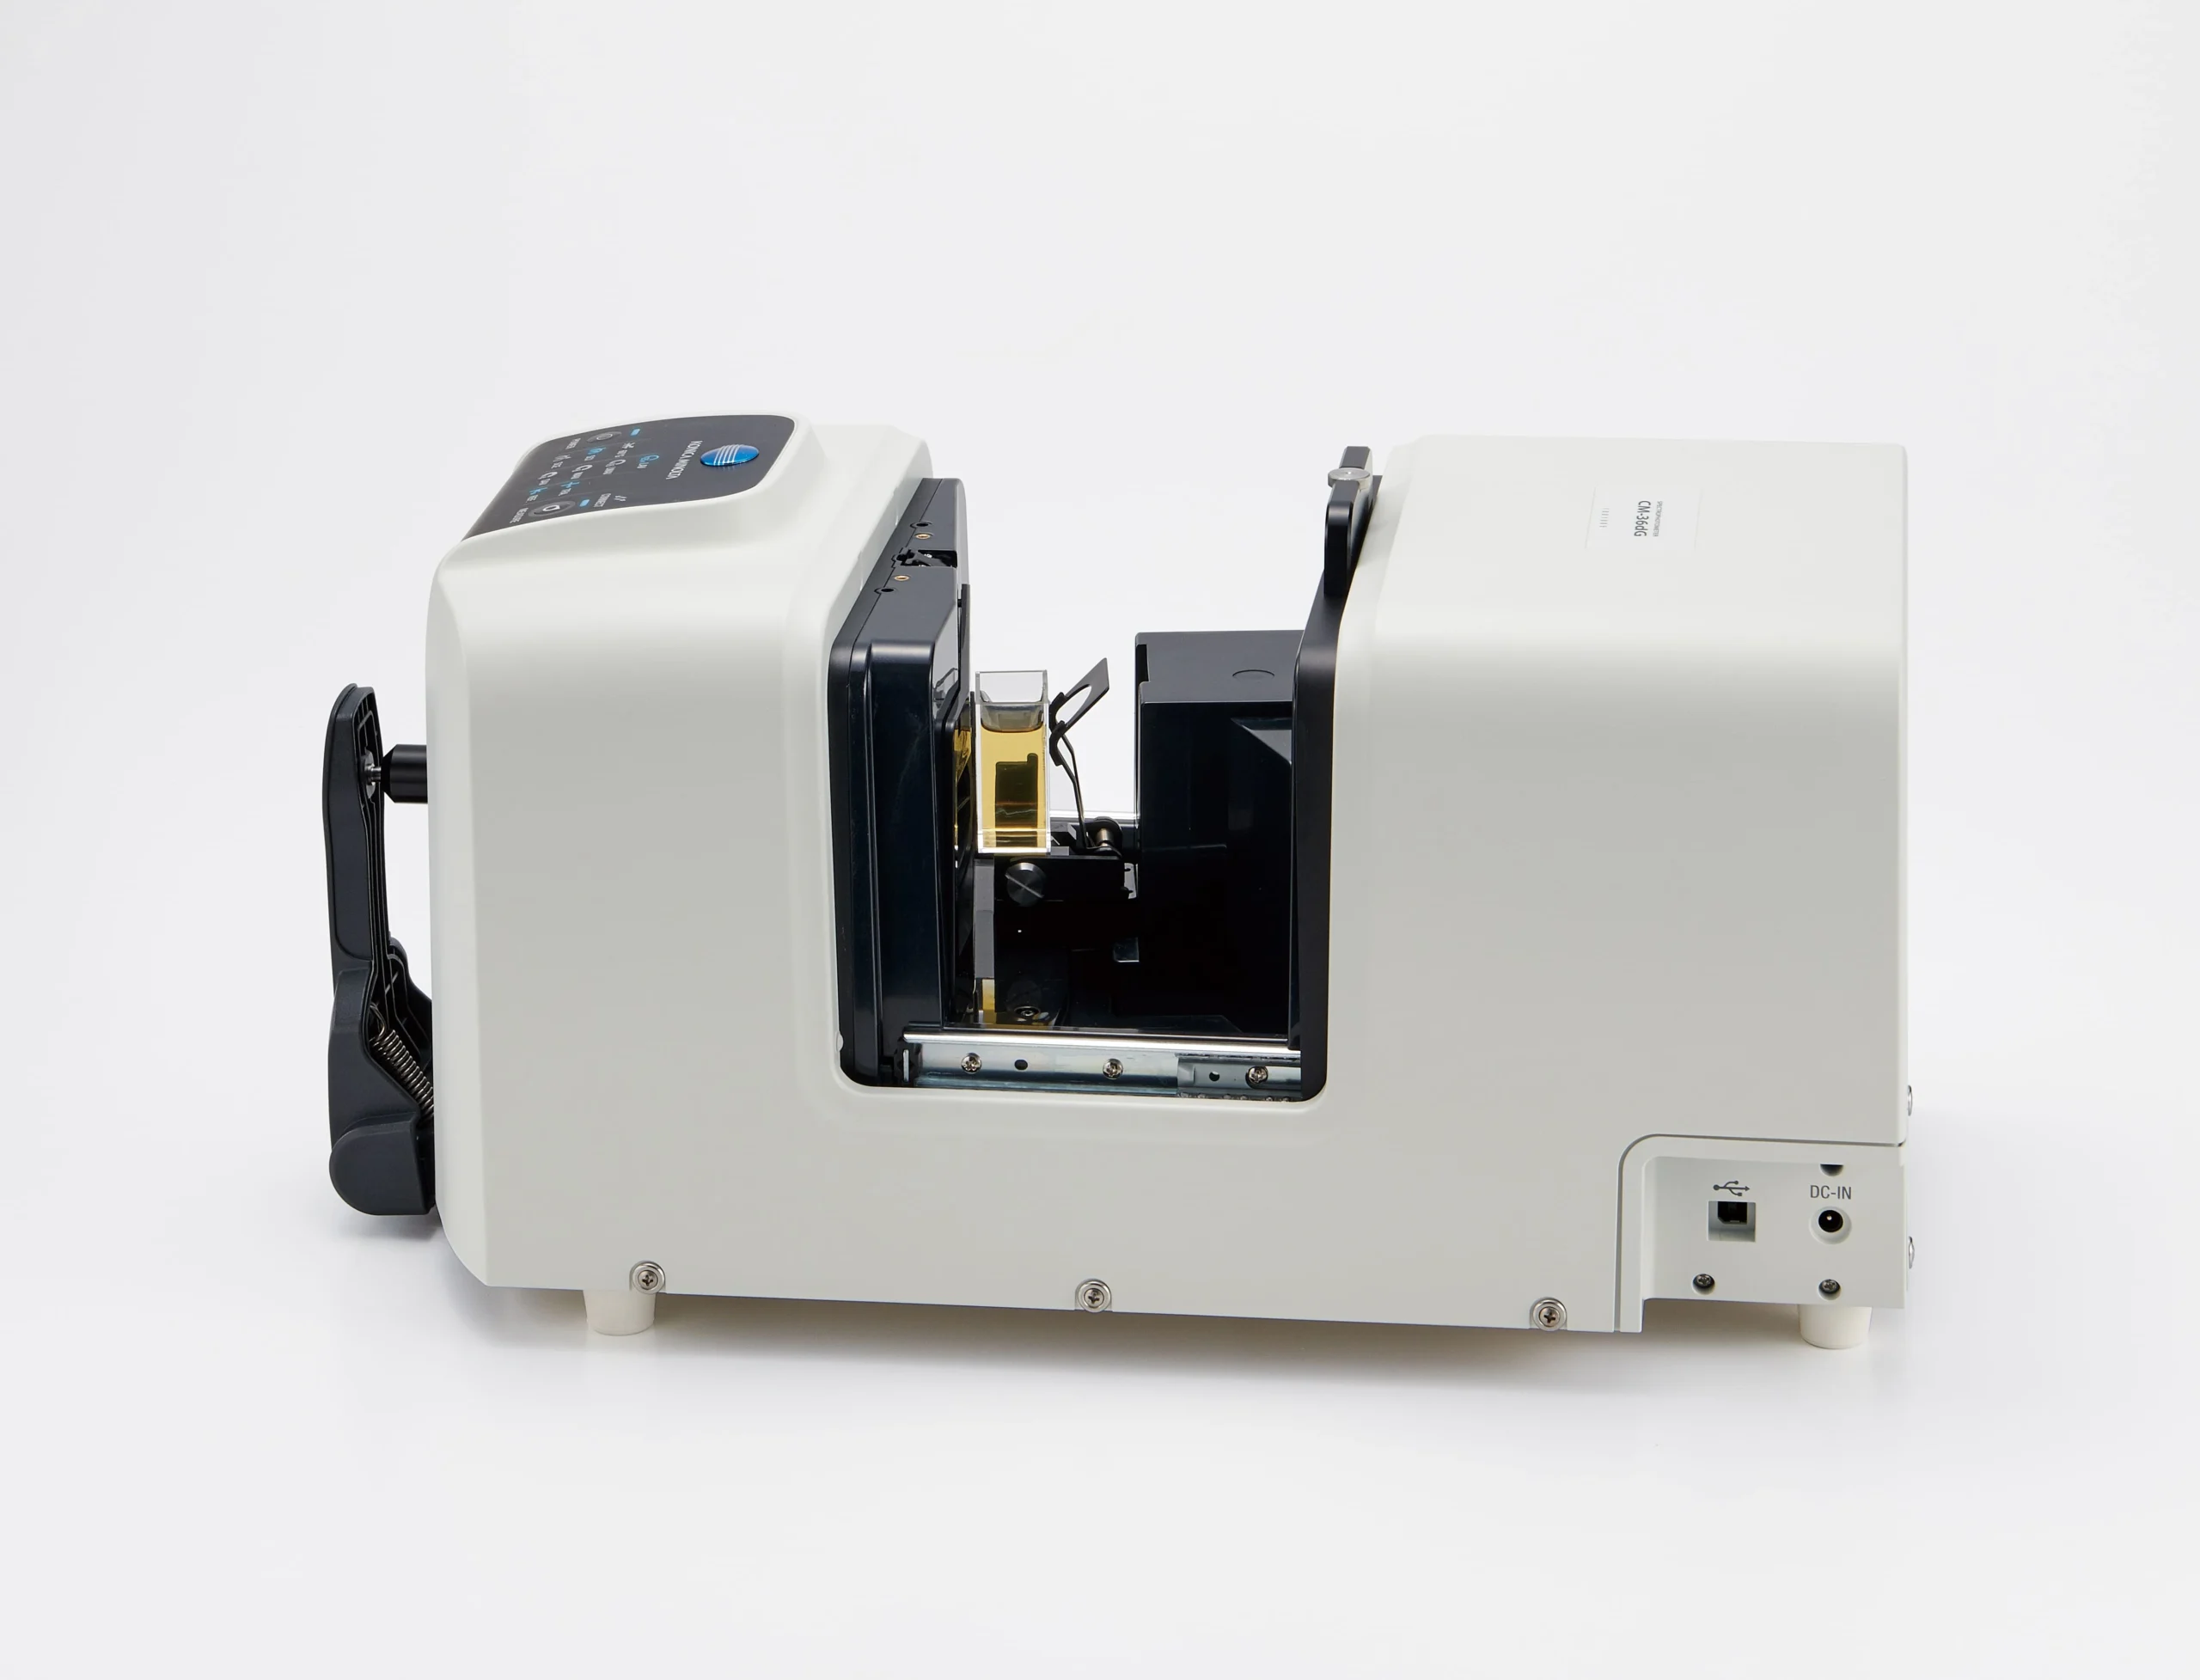
| Sample Viewer Function | Using internal camera |
| (Image viewable/copiable using optional software such as SpectraMagic NX software Ver. 3.2 or later) | |
| Internal Performance Check*2 | WAA (Wavelength Analysis & Adjustment) Technology |
| Interface | USB 2.0 |
| Target Mask Auto Detection | Yes |
| Power | Dedicated AC adapter |
| Operating temperature / humidity range | 13 to 33°C, Relative humidity: 80% or less (at 35°C) with no condensation |
| Storage temperature / humidity range | 0 to 40°C, Relative humidity: 80% or less (at 35°C) with no condensation |
| Size (W x H xD) | Approx. 248 x 250 x 498 mm |
| Weight | Approx. 8.4 kg |
Color
| Illumination/ Viewing System | Reflectance: |
| di:8°, de:8° (diffused illumination, 8° viewing), SCI (Specular Component Included) / SCE (Specular Component Excluded) switchable. | |
| Conforms to CIE No.15, lSO7724/1, ASTM E1164, DIN 5033 Teil7, and JIS Z 8722 condition c standards | |
| Transmittance: | |
| di:0°, de:0° (diffused illumination, 0° viewing) | |
| Conforms to CIE No.15, ASTM E1164, DIN 5033 Teil7, and JIS Z 8722 condition g standards | |
| Integrating Sphere Size | Ø152 mm (6 inches) |
| Detector | Dual 40-element silicon photodiode arrays |
| Spectral Separation Device | Diffraction grating |
| Wavelength Range | 360 to 740 nm |
| Wavelength Pitch | 10 nm |
| Half Bandwidth | approx. 10 nm |
| Reflectance Range | 0 to 200% |
| Resolution: 0.01% | |
| Light Source | 3 Pulsed xenon lamps (2 with UV cut filters) |
| Illumination / Measurement Area | LAV: Ø30.0 mm / Ø25.4 mm |
| LMAV: Ø20.0 mm / Ø16.0 mm | |
| MAV: Ø11.0 mm / Ø8.0 mm | |
| SAV: Ø7.0 mm / Ø4.0 mm | |
| Trans: Ø24.0 mm / Ø17.0 mm | |
| Repeatability | Colorimetric values: Standard deviation within ΔE*ab 0.02 |
| Spectral reflectance: Standard deviation within 0.1% | |
| (When a white calibration plate is measured 30 times at 10-second intervals after white calibration) | |
| Inter-Instrument | Within ΔE*ab 0.12 |
| Agreement | (Based on average for 12 BCRA Series II color tiles; LAV/SCI. Compared to values measured with master body under Konica Minolta standard measurement conditions) |
| UV Setting | 100% / 0% / Adjusted |
| Instantaneous numerical adjustment of UV with no mechanical filter movement required*1; 400 nm and 420 nm UV cutoff filters |
Gloss
| Measurement Angle | 60° |
| Light Source | White LED |
| Detector | Silicon photodiode |
| Measurement Range | 0 to 200 GU |
| Resolution: 0.01 GU | |
| Measurement Area | MAV (LAV/LMAV/MAV color measurement area): |
| Ø10.0 x 8.0 mm ellipse | |
| SAV (SAV color measurement): | |
| Ø3.0 mm | |
| Repeatability | 0 to 10 GU: within 0.1 GU |
| 10 to 100 GU: within 0.2 GU | |
| 100 to 200 GU: 0.2% | |
| (When measured 30 times at 10-second intervals) | |
| Inter-Instrument Agreement | 0 to 10 GU: ±0.2 GU |
| 10 to 100 GU: ±0.5 GU | |
| (MAV. Compared to values measured with master body under Konica Minolta standard conditions) | |
| Geometry | JIS Z 8741 (MAV), JIS K 5600, ISO 2813, ISO 7668 (MAV), ASTM D523-08, ASTM D2457-13, and DIN 67530 |
